
Most nutrition coaches design every piece of client content like it’s a fresh problem. A new recipe card. A new e-guide cover. A new Instagram carousel. Each one starts from a blank page or a half-remembered template, and each one takes hours — because the brand decisions get re-made every time.
That’s not a content problem. It’s a brand kit problem. And it’s solvable with a 60-minute setup that pays for itself within the first week.
This guide walks through the exact Canva workflow nutrition coaches should use in 2026 to brand their content efficiently and consistently. By the end, you’ll have a working brand kit, a system for producing recipe cards and e-guides in minutes rather than hours, and a clear understanding of where pre-built white-label templates fit into the workflow as the highest-leverage shortcut available.
Why Canva is the right tool for nutrition coaches
There are technically more powerful design tools — Adobe Illustrator, Figma, Affinity Designer. They’re also drastically more expensive, slower to learn, and overkill for what coaches actually need to produce.
Canva sits in the practical middle. It’s powerful enough to produce genuinely professional-looking client materials, simple enough that a coach with no design background can be productive within an afternoon, and crucially — it has the brand kit feature, which is the operational unlock for the entire workflow described in this guide.
It’s also the platform that white-label nutrition content providers most commonly deliver in. Templates from The Content Cook are fully editable Canva files, which means the assets you receive can have your brand applied with a single click rather than being rebuilt from scratch.
The single biggest mistake coaches make in Canva isn’t choosing the wrong colours or the wrong template. It’s treating each new asset as a fresh design decision instead of an application of an existing system.
Step 1: Set up your Canva account properly (5 minutes)
Most coaches sign up for Canva and immediately start designing. Worth doing five minutes of setup first.
Create a free Canva account using your business email rather than a personal one — this keeps your brand assets separate from any personal designs and makes future team collaboration cleaner. When prompted for a team name, use your business name. The team workspace URL becomes part of your assets, and “thecontentcook.canva.com” looks more credible than “sarah-personal-account.canva.com” if you ever share live design links with clients.
On the question of free vs Pro: Canva Free supports brand kits, custom fonts, your logo, and the vast majority of templates and elements. Pro is worth it if you need multiple brand kits (for sub-brands or working with multiple coaching businesses), the background remover, or scheduled social publishing. For most solo nutrition coaches, free is genuinely sufficient. The discipline of using it well matters more than the subscription tier.
Step 2: Build your brand kit (15 minutes)
This is the highest-leverage 15 minutes you’ll spend on your brand all year. The brand kit is what turns Canva from a blank-canvas design tool into a system that applies your brand automatically.
Add your colour palette
Open Brand from the left sidebar and create a new brand kit. Add 3–5 hex codes — ideally a primary brand colour, two complementary secondaries, one neutral (a near-black for text and a near-white or warm grey for backgrounds), and one accent colour for emphasis.
If you don’t already have a palette, Coolors.co generates working palettes in seconds. The brands that look the most premium use restricted palettes — four colours used consistently outperforms eight colours used randomly every time.
Upload your logo
Upload your logo in SVG format if you have it — SVG scales infinitely without quality loss and works at any size from a 16-pixel favicon to a 6-foot trade-show banner. If you only have a PNG, make sure it’s high-resolution (at least 1000 pixels on the longest side) and has a transparent background.
Set your fonts
Pick exactly two fonts. One for headings, one for body copy. Both should be available in Canva’s free font library, which covers Google Fonts comprehensively.
Two combinations that work for almost any nutrition coaching brand:
- Playfair Display (headings, serif) + Inter (body, sans-serif) — elegant, slightly editorial, works for premium brands
- Montserrat Bold (headings) + Montserrat Regular (body) — clean, modern, works for energetic brands
Resist the urge to add a third “display” font for accents. Coaches who use three or more fonts almost always look amateur, regardless of which fonts they pick.
Setting up the brand kit takes about 20 minutes if you know your colours and fonts. After this, every future Canva asset takes a fraction of the time it would have taken from scratch — the 20-minute investment pays back within the first week of using it.
Step 3: Open a template, never a blank canvas (30 seconds)
This is the rule that changes everything: never start from blank. A blank canvas asks you to make every design decision — layout, hierarchy, spacing, image placement — from scratch. A template has those decisions made already, by someone whose job was to make them well. Your job is to apply your brand and replace the content.
Three places to start:
- Canva’s template library — free, vast, generic. Search for “recipe card,” “meal plan template,” “Instagram carousel education,” “e-guide cover” and similar terms. Filter by free templates if you’re on the free plan.
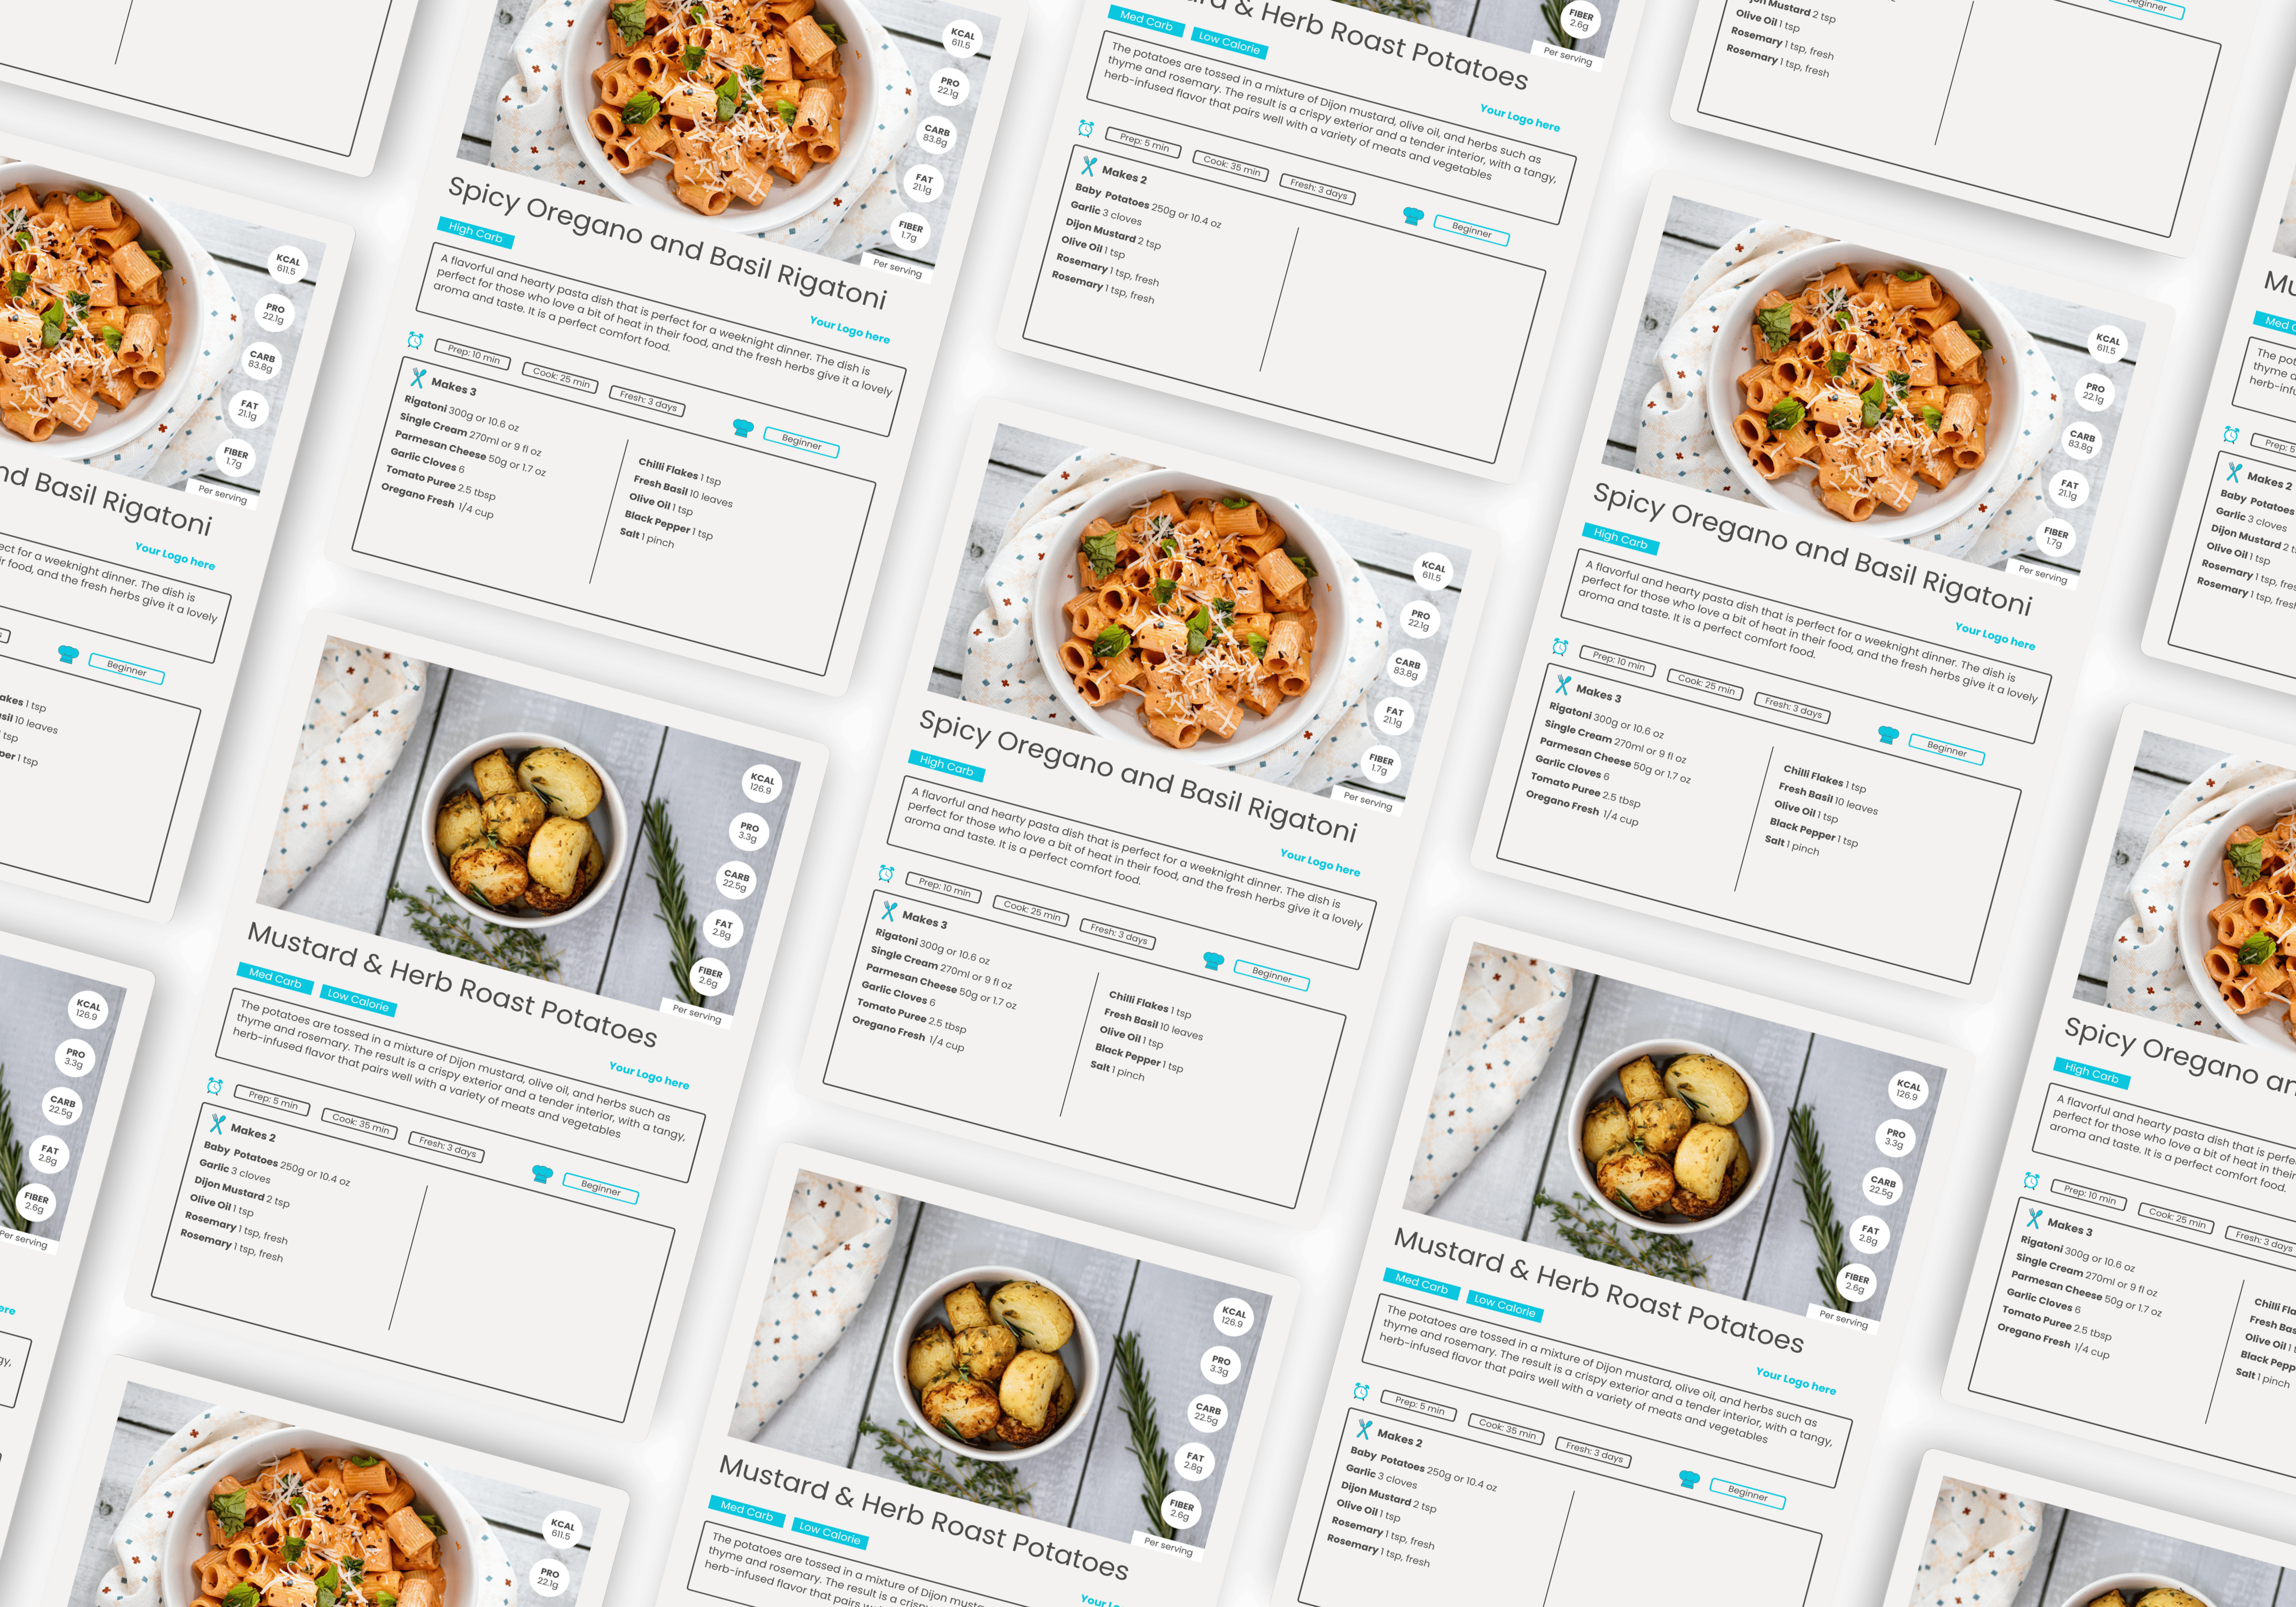
- White-label nutrition content providers — templates pre-built for nutrition coaching specifically, with allergen icons, macro panels, and the structural elements clients actually need. The Content Cook delivers these as editable Canva files.
- Your own previous work — once you’ve built one well-branded recipe card, duplicate it as the starting point for the next one rather than rebuilding.
Step 4: Apply your brand kit with one click (10 seconds)
With the template open, click Styles in the left sidebar and select your brand kit from the list. Canva applies your colours, fonts, and logo across every page of the template instantly.
This is the moment that justifies the whole setup process. A generic template that took someone else hours to design just became your branded asset in about 10 seconds. Every page now uses your colours. Every heading is in your font. Your logo is in the corner.
Step 5: Replace the placeholder content (15–20 minutes)
Swap the placeholder text for your actual content — the recipe ingredients, the e-guide section copy, the client’s name on the welcome pack. Replace placeholder photography with either your own images or with on-brand stock from Pexels or Unsplash.
Keep your edits minimal. The template’s structural decisions — the placement of elements, the size of headings, the rhythm of the page — have already been made by someone whose entire job is making those decisions well. Your role is to fill the structure with your content, not to redesign the structure itself. Coaches who heavily customise templates almost always make them worse.
Step 6: Export at the right size and format (1 minute)
Different platforms need different export settings. The standards worth memorising:
- Recipe cards and e-guides — PDF Print at 300 dpi. Tick “Compress file” to keep client-facing PDFs under 5MB. Files larger than that cause email delivery problems and slow downloads on mobile.
- Instagram carousels — PNG at 1080×1350 pixels (portrait 4:5). This is the optimal Instagram feed ratio in 2026 — maximises feed real estate while still working well in the grid view.
- Instagram stories — PNG at 1080×1920 (full-screen vertical).
- Email headers — JPG at 600–1200 pixels wide. Larger files slow email open times and trigger spam filters in some email clients.
- Website blog headers — WebP or JPG at 1200×630 pixels. WebP is 25–40% smaller than JPG at the same visual quality and is now supported by every modern browser.
The four approaches to producing nutrition content (and what each actually costs)
Once the brand kit is set up, the speed of producing each new asset depends almost entirely on what you start from. Here’s the practical comparison:
| Approach | Time per asset | Brand consistency | Sustainable at scale? |
|---|---|---|---|
| From scratch in Canva | 3–4 hours | Drifts every time | No — burns weekends |
| From a generic template | 60–90 minutes | Generic looking | Possible, slow |
| From a branded template + brand kit | 20–30 minutes | Locked-in consistent | Yes — the working model |
| From white-label nutrition content | 10–20 minutes | Locked-in + nutritionist-developed | Yes — the leverage layer |
The from-scratch approach is what most coaches default to, and it’s why most coaches spend their evenings designing instead of coaching. Branded templates plus a brand kit cuts that time roughly tenfold. White-label nutrition content cuts it further — because the templates are already designed specifically for the assets coaches actually need, with the structural elements (allergen icons, macro panels, ingredient layouts) already in place.
The fastest way to produce branded recipe cards isn’t being a faster designer. It’s not designing in the first place. The Content Cook’s Canva templates exist exactly for this reason.
Common Canva mistakes coaches make (and how to avoid them)
Font overload
The most common amateur signal. Coaches use the heading font, the body font, a third “display” font for emphasis, a script font for quotes, and a fourth font that came with a template they forgot to update. Restrict yourself to two fonts maximum across every single asset, and your work will instantly look more professional than 80% of competitors.
Colour drift
Each new asset uses slightly different shades — a little more saturated here, a little darker there. Over six months of posting, the brand starts to look fragmented. The brand kit fixes this completely, but only if you actually use it. Discipline yourself to apply the brand kit to every new asset before you make any other change.
Low-resolution logos
Uploading a small JPEG of your logo and using it everywhere — it looks fine on a recipe card but pixelates on an e-guide cover. Re-export your logo as a high-resolution SVG (or 2000-pixel PNG with transparent background) once and upload it to your brand kit. Use that everywhere going forward.
Heavy template customisation
Templates are designed by people whose job is layout. Most coaches’ attempts to “improve” the layout make it worse. Apply your brand kit, swap the content, export. Resist the urge to redesign.
No version control
Six versions of the same recipe card with slight variations, none clearly named. Use Canva folders. Name files consistently (e.g., “Recipe Card — High-Protein Breakfast — v2 final”). Delete drafts you’re not using.
Frequently asked questions
No. Canva’s free tier supports brand kits, custom fonts, your logo, and the vast majority of templates and elements. Pro becomes worth it once you need multiple brand kits (for different sub-brands or clients), the background remover, or larger team collaboration. For most solo nutrition coaches, free is genuinely sufficient — the discipline of using it well matters more than the subscription tier.
About 20 minutes if you already know your colours and fonts. Add another 30–60 minutes if you’re picking your brand from scratch — most of that time is choosing colours and fonts, not the technical setup. Once it’s set up, every future asset takes a fraction of the time it would have taken from scratch, so the 20-minute investment pays back within the first week of using it.
Yes — if the provider builds them properly. Templates from The Content Cook are delivered as fully editable Canva files, which means you can apply your brand kit, swap placeholder content for your own copy, and resize for different platforms in minutes. Some white-label providers deliver flat PDFs that can’t be edited — those are far less useful, and worth avoiding when choosing a provider.
Start from a recipe card template that already has the structure (ingredients column, method steps, macro panel, allergen icons), apply your brand kit, swap the recipe content, export as PDF. With a brand kit set up and a template that fits, total time per recipe card is typically 10–20 minutes — versus 1–2 hours from scratch. The biggest time-saver isn’t being faster at design; it’s not designing in the first place.
Recipe cards and e-guides: PDF Print at 300 dpi. Instagram carousels: PNG at 1080×1350 (portrait, 4:5 ratio). Instagram stories: PNG at 1080×1920. Email headers: JPG at 600–1200 pixels wide. Website blog headers: WebP or JPG at 1200×630. For client-facing PDFs, always tick ‘Compress file’ to keep sizes under 5MB — large files cause email delivery problems and slow downloads
Skip the design work entirely
The Complete Coach Toolkit from The Content Cook delivers a full library of nutritionist-developed Canva templates — recipe cards, e-guides, onboarding packs, social media carousels — all built to be branded with your colours and logo in minutes. Apply your brand kit, swap the placeholder content, export. The design work is already done by professionals who specialise in nutrition content. You just add your logo.